
Having to use photography is basically par for the course when it comes to blogging but photography can be so confusing if you’ve never had any lessons in it. There’s so many different settings and buttons all over the camera and it can be so hard to differentiate what they all mean, and how they’ll impact your blog photography. I was invited to a Viking Photography Masterclass, where they gave us lots of tips to help improve our blog photography. So, what did I learn?
WHAT DO ALL THOSE CAMERA SETTINGS MEAN?
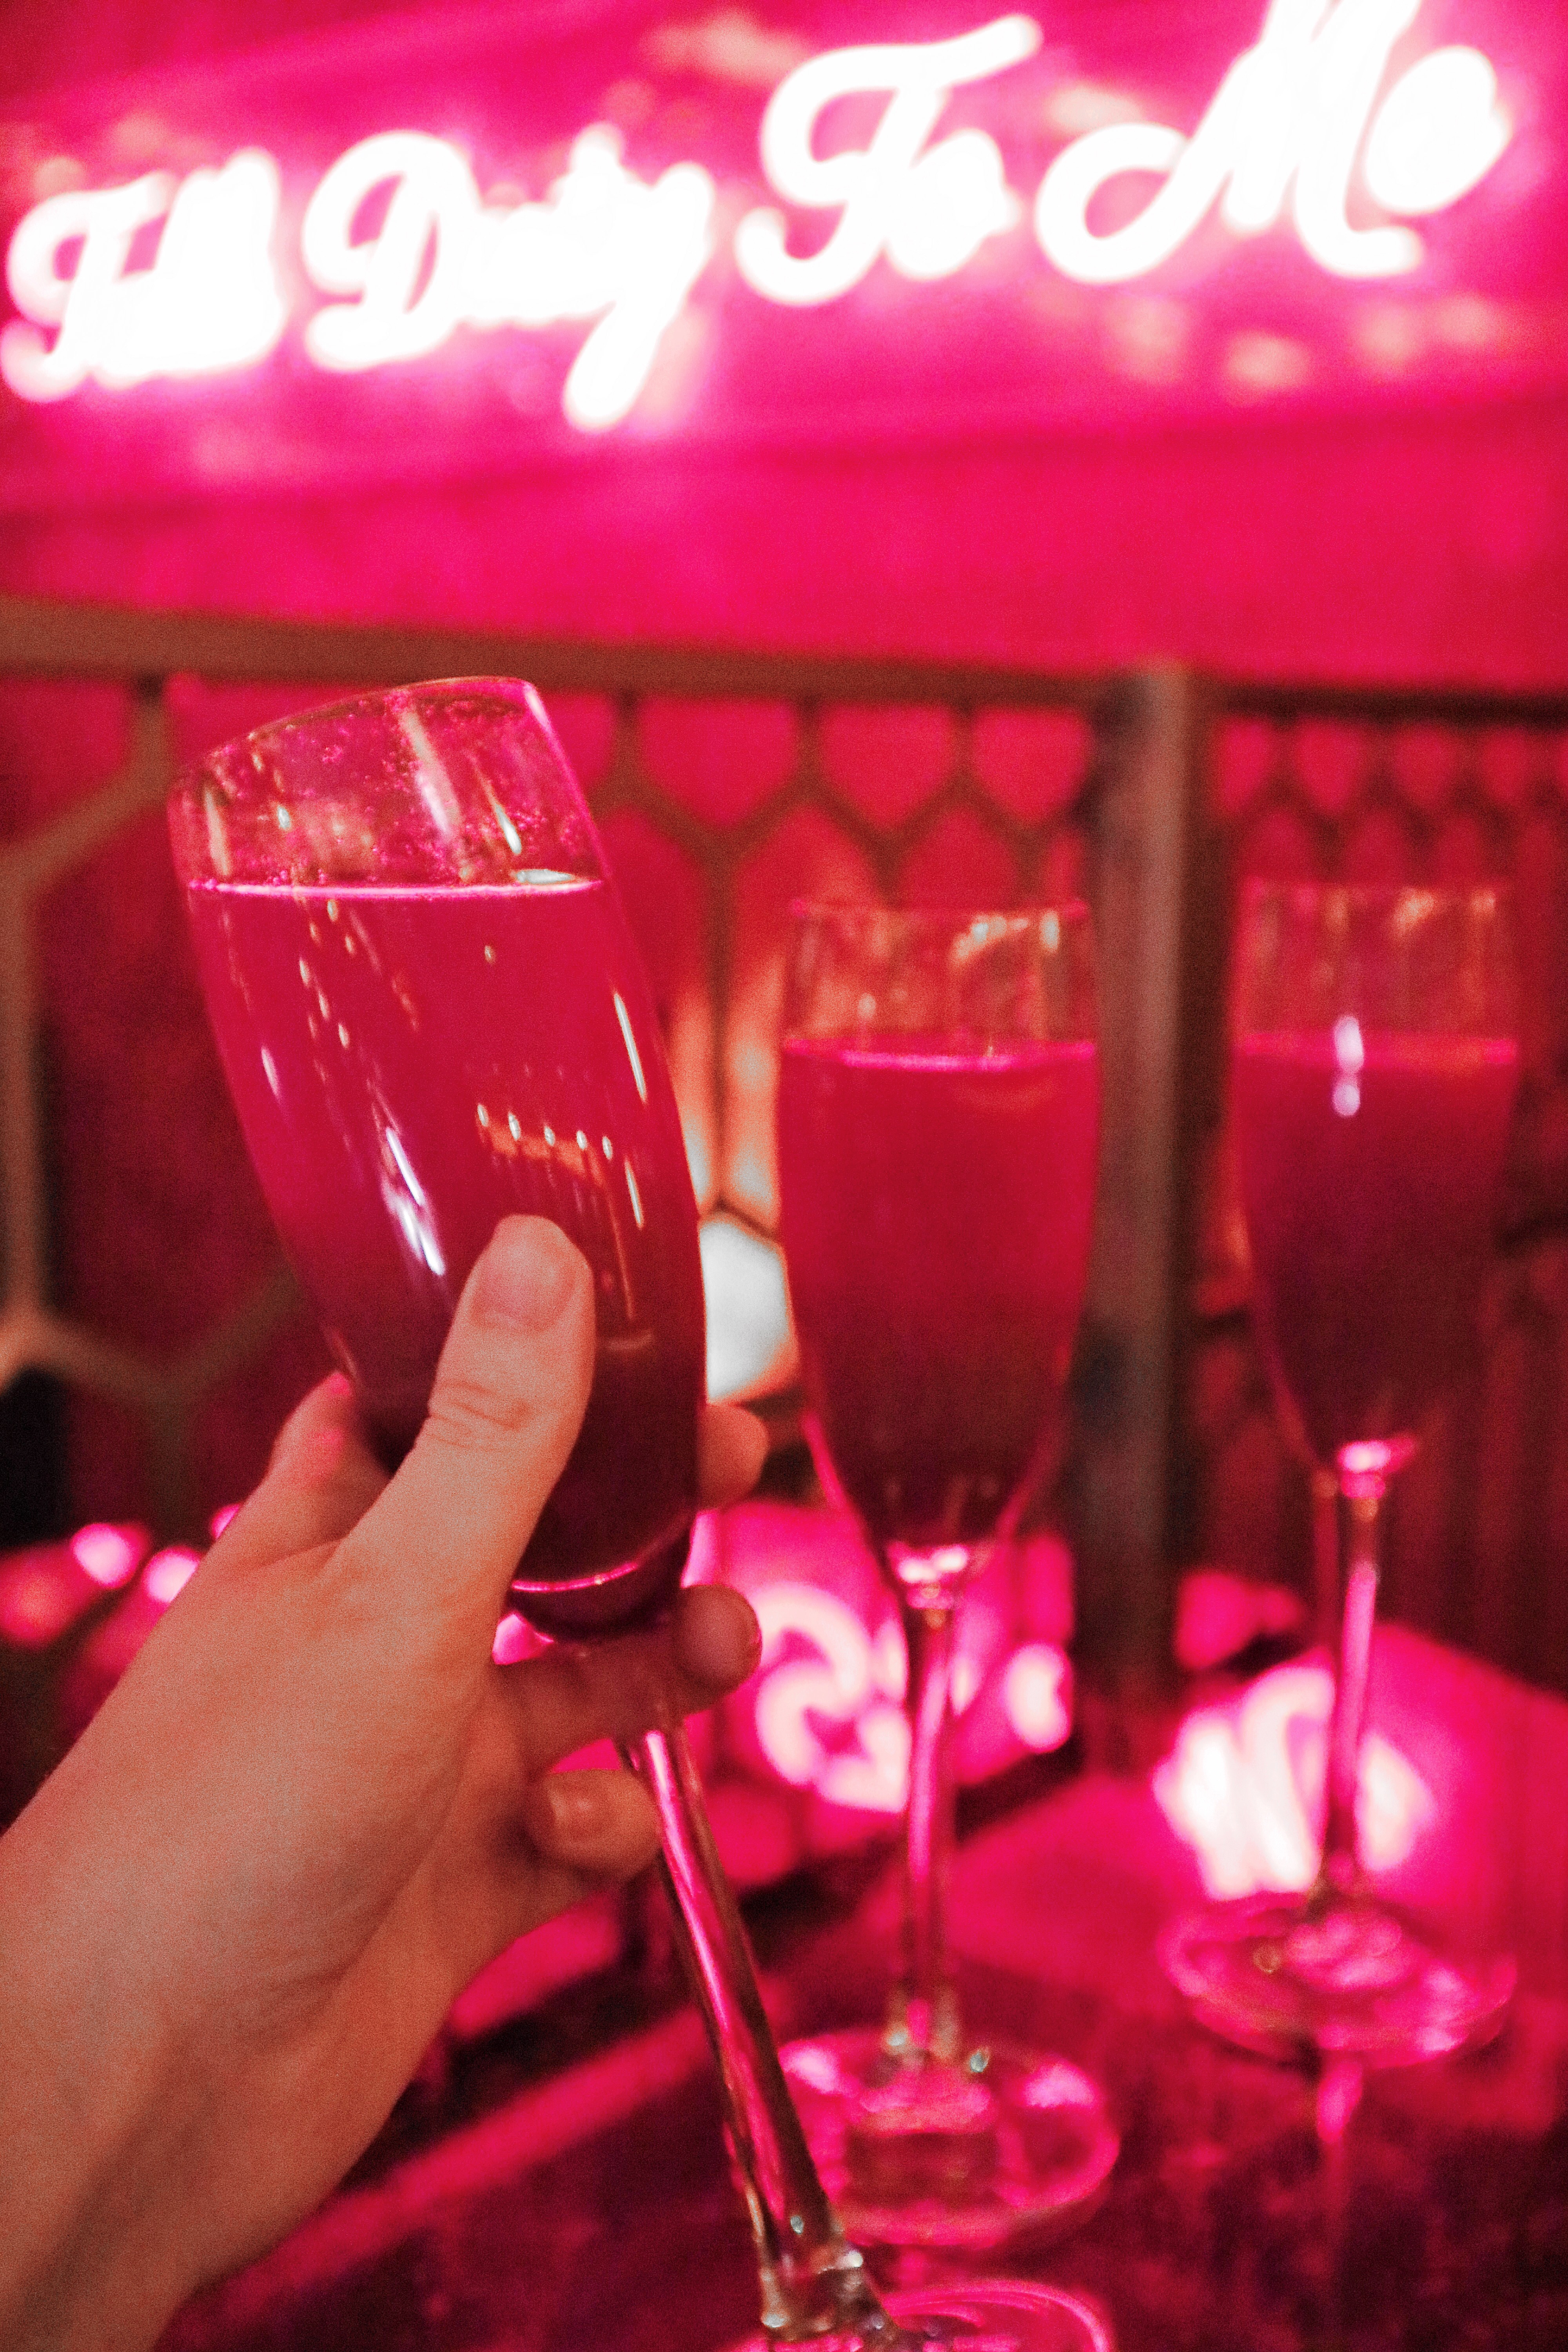
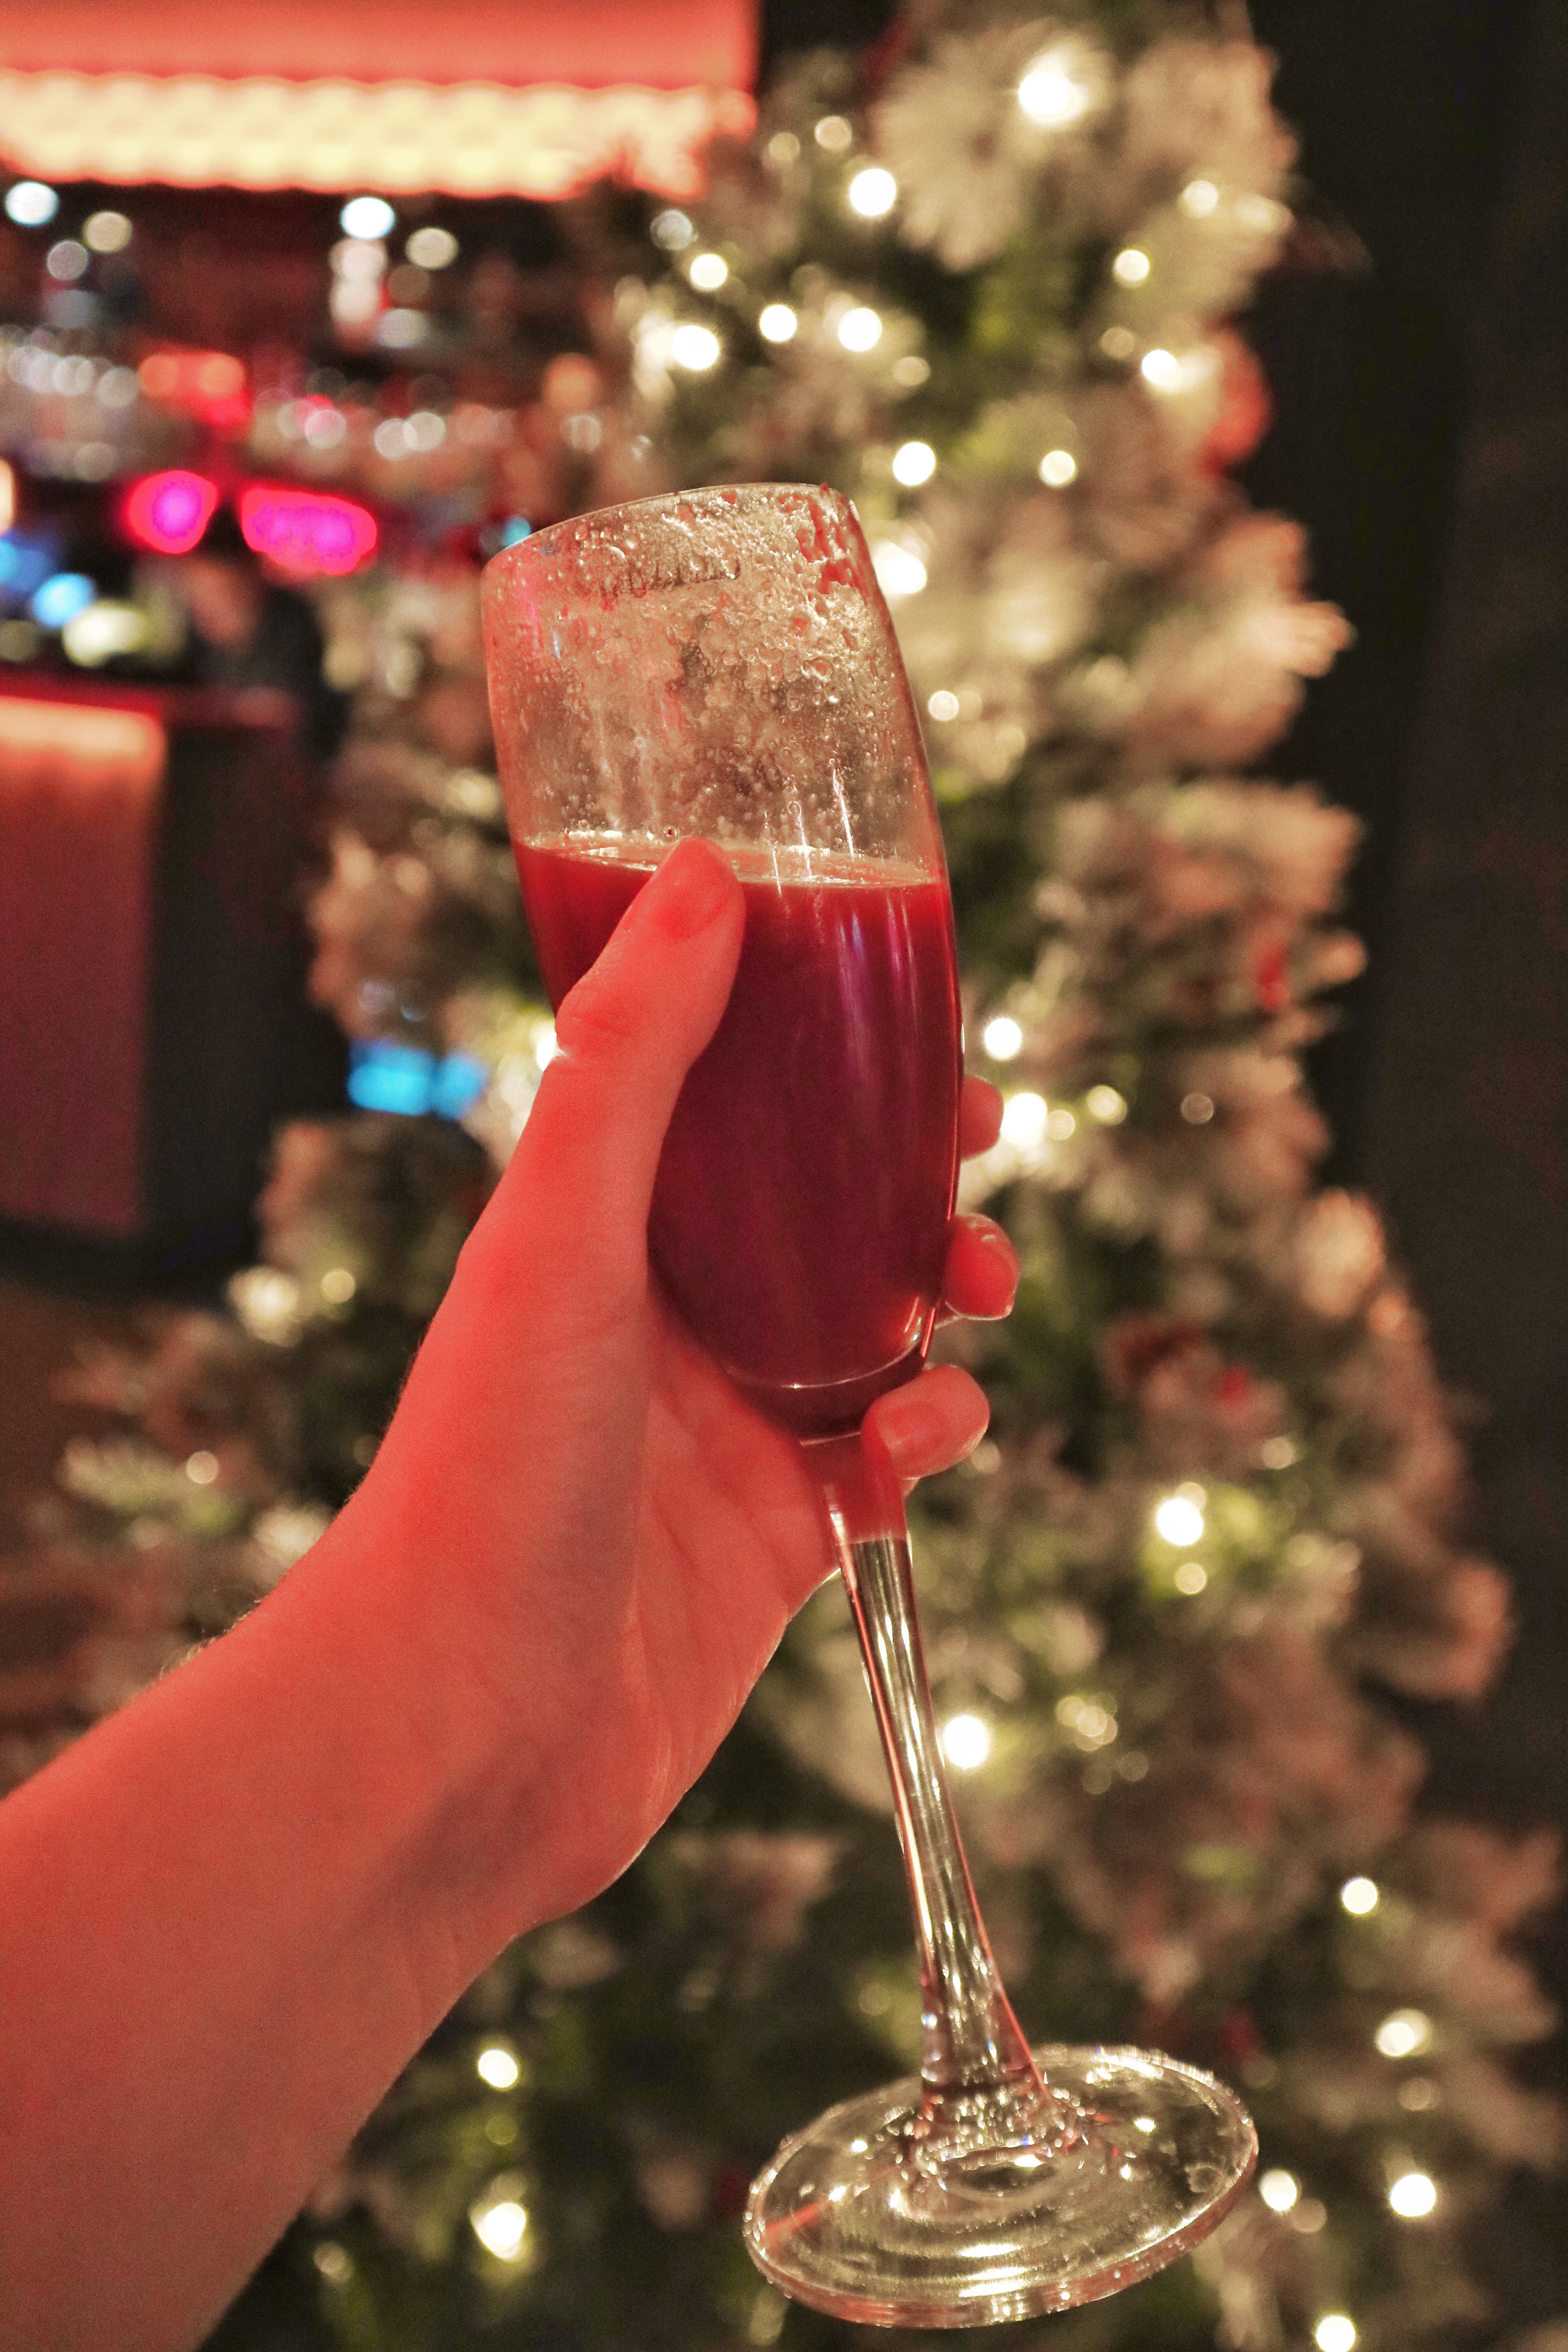
I had a basic understanding of photography before entering the event, due to having photography lessons as a part of my foundation degree, but I’m going to explain it all in very simple terms so that it’s incredibly easy to understand. At the Viking Photography Masterclass we were shooting in very dark lighting, as the event took place in Dirty Martini in Birmingham, which was quite a challenge for me!
ISO
ISO is the measure of a film sensitivity to light; if the ISO is high then the camera is going to be more sensitive to light. I recommend using ISO 400 if you’re shooting inside in natural conditions and ISO 800 if you’re shooting outside in natural conditions. For dark conditions you can increase the ISO to as high as 3250; this is great for shooting at night!
APERTURE (F-STOP)
Aperture is the size of the opening in the lens when a picture is taken. Aperture is what controls the blur in your photos; if you have a low f-stop then the background of your photo will be blurrier, and the higher the f-stop the more of the photo will be in focus. If you’re shooting a product and want to just focus on that then a low f-stop will blur out other items in the background of the photo, but if you’re showcasing multiple items then a higher aperture may work better.
SHUTTER SPEED
Shutter speed is how fast the camera takes the photo; if you’re trying to capture someone mid movement then use a high shutter speed, but if you want to add a blur to your image then a lower shutter speed is best.
HOW TO GET THAT PERFECT LIGHTING
We were lucky enough to be able to use some of Viking’s very professional LED light sticks, which were really easy to use and personalise for the vibe that you wanted to create. I picked up lots of tips to improve the lighting in your photos, so I wanted to share those with you as well as some of the tips I’ve learnt along my blogging journey.
SHOOT IN A ROOM WITH LOTS OF NATURAL LIGHT
This may seem like an obvious tip, but never shoot in a room with a lack of natural light. It can be very hard, and sometimes impossible, to create a photography studio at home, so for most people natural light is the only light source for blog photography. I always shoot in my conservatory, as it is a room made entirely of windows (so it’s full of light!), which brightens up my photography and minimizes shadows and noise in my photos.
INVEST IN AN LED LIGHT
LED lights can be found online for such bargain prices online, which will immediately make your blog photography look so much more professional. This will be especially helpful if you don’t have a particularly light room in your house or regularly find yourself ending up with dark photography.

HOW TO USE REFLECTION AND REFRACTION
One thing at the Viking Photography Masterclass that I’d never tried before was using photography props alongside your camera to include reflection and refraction in your shots. I’d never thought about using this within my blog photography, and although it isn’t something that would usually fit my content, there may be certain situations where I’d be able to include these more funky effects in my work.
USE PRISMS
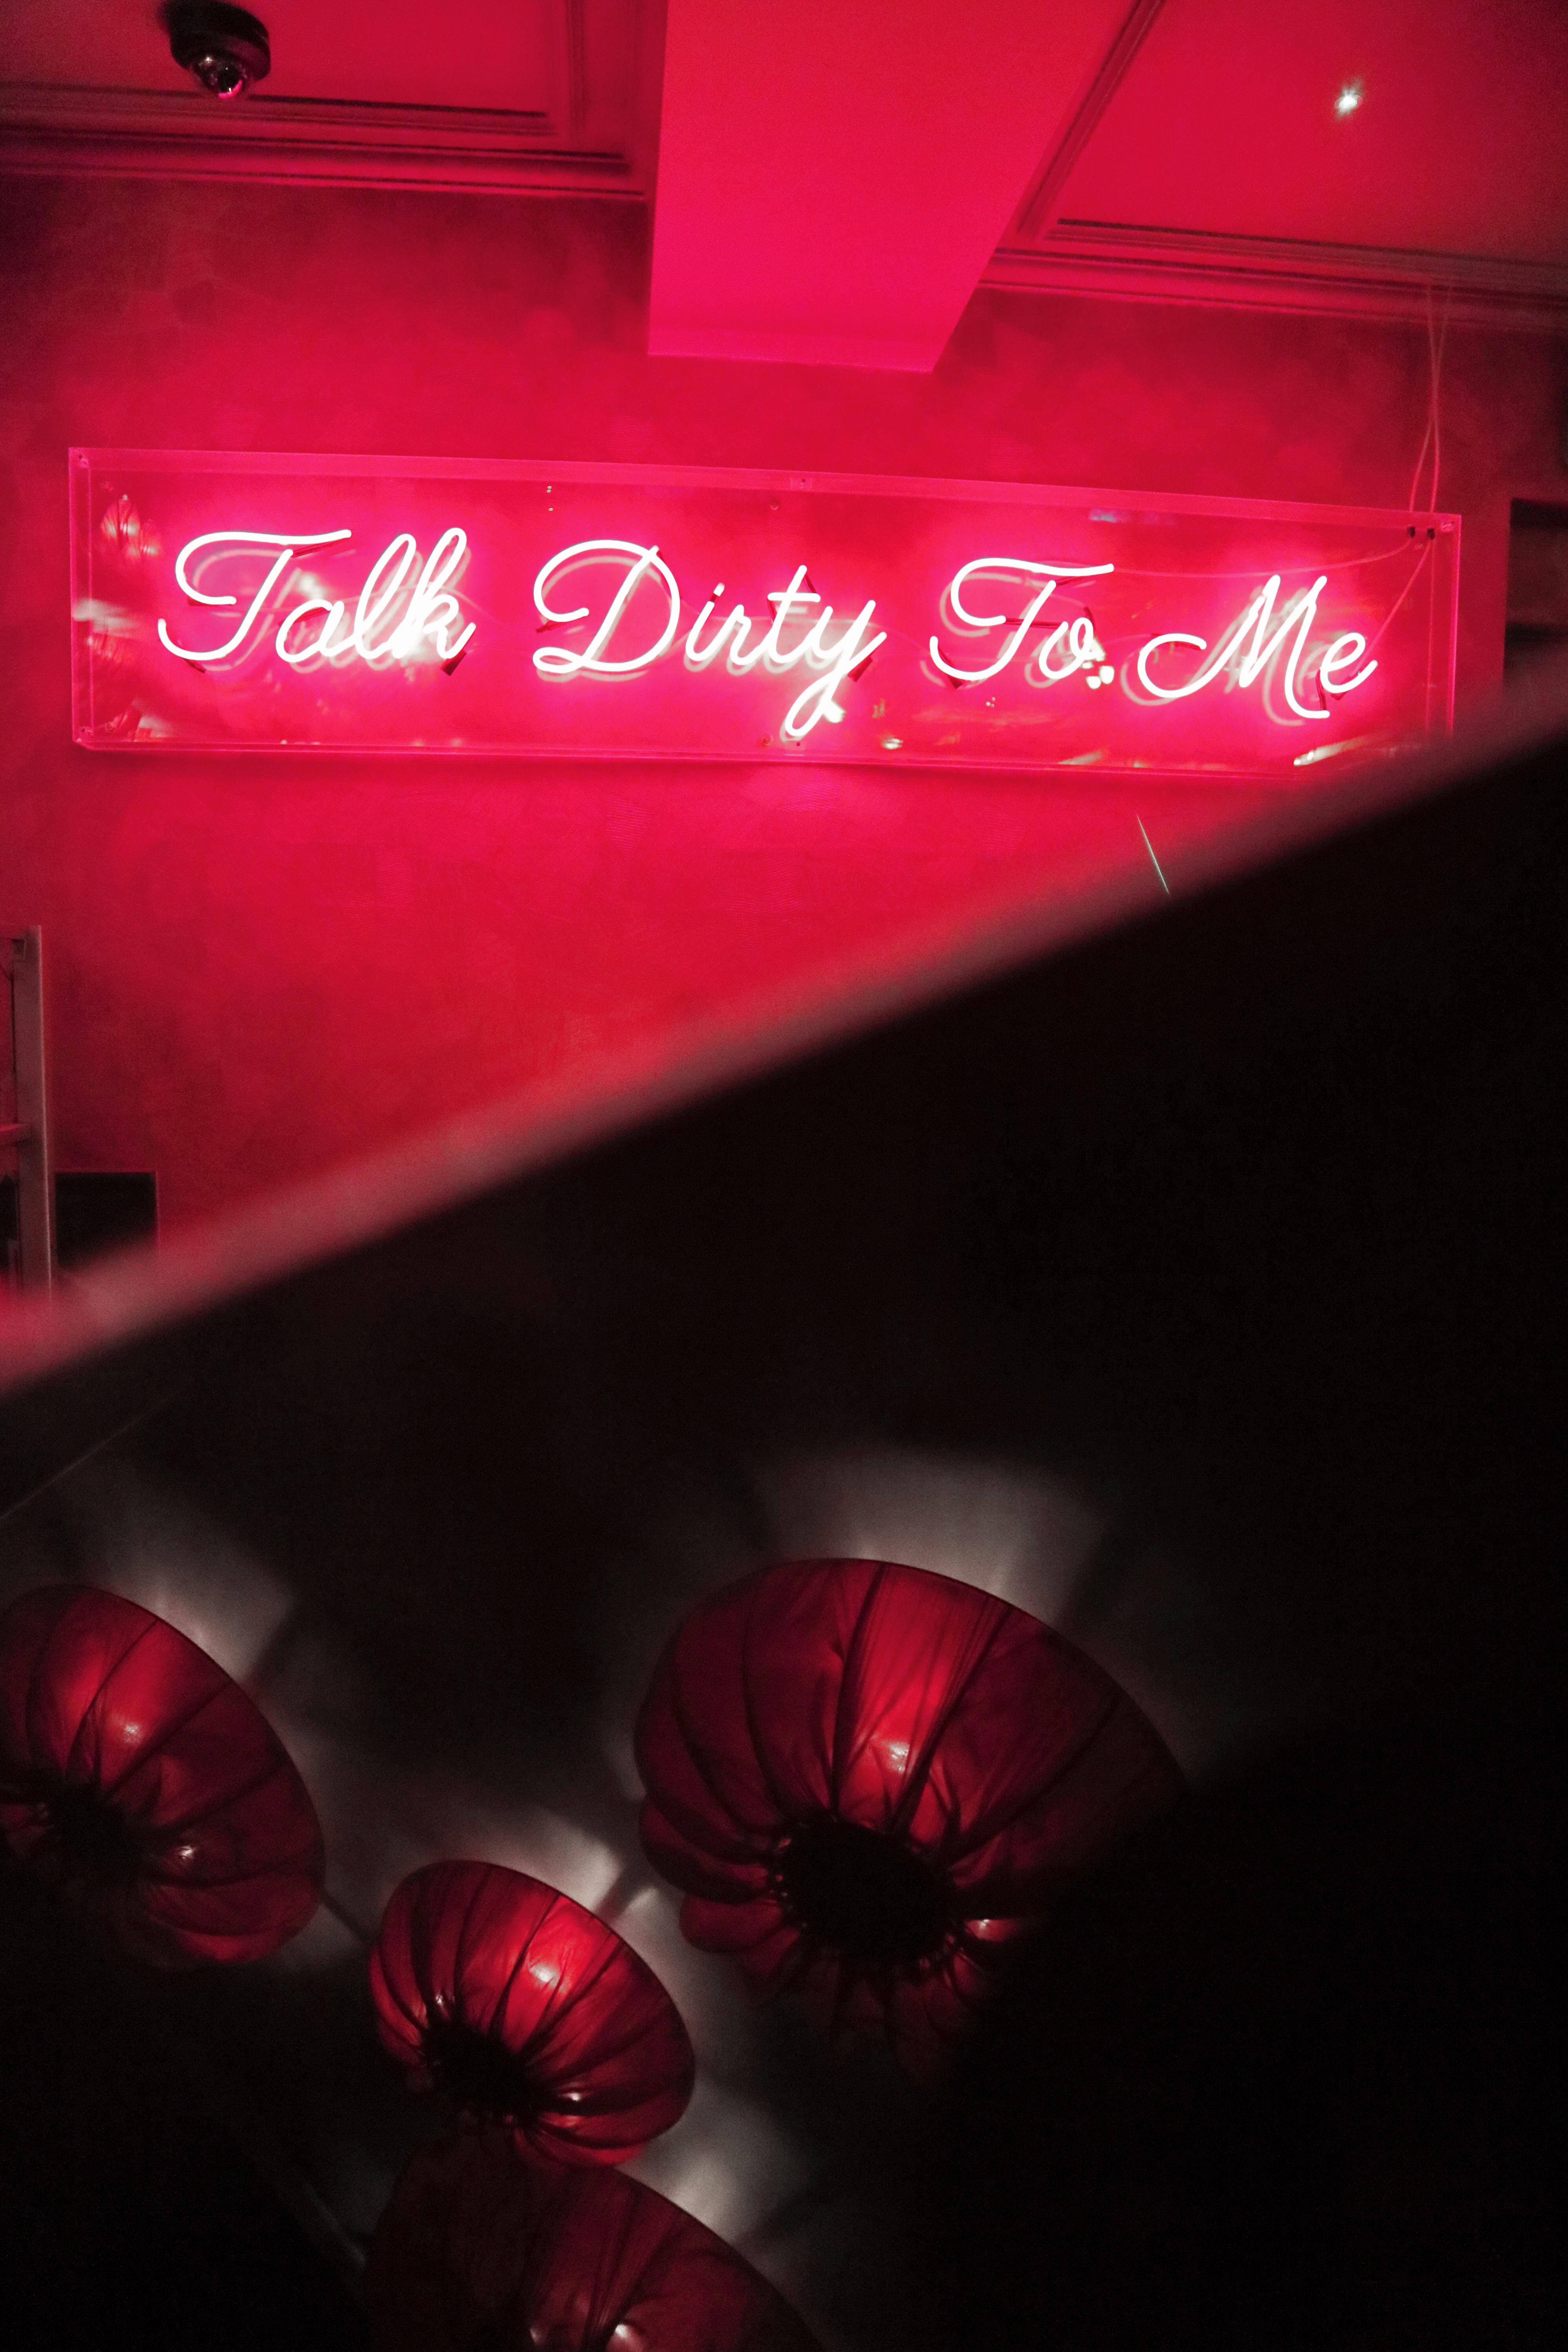
Prisms refract the light entering your camera, when held just in front of the lens, and create the kaleidoscope style effect that you can see in the photo at the top of this post. This worked great in Dirty Martini as there is a lot of coloured light artwork all over the walls.
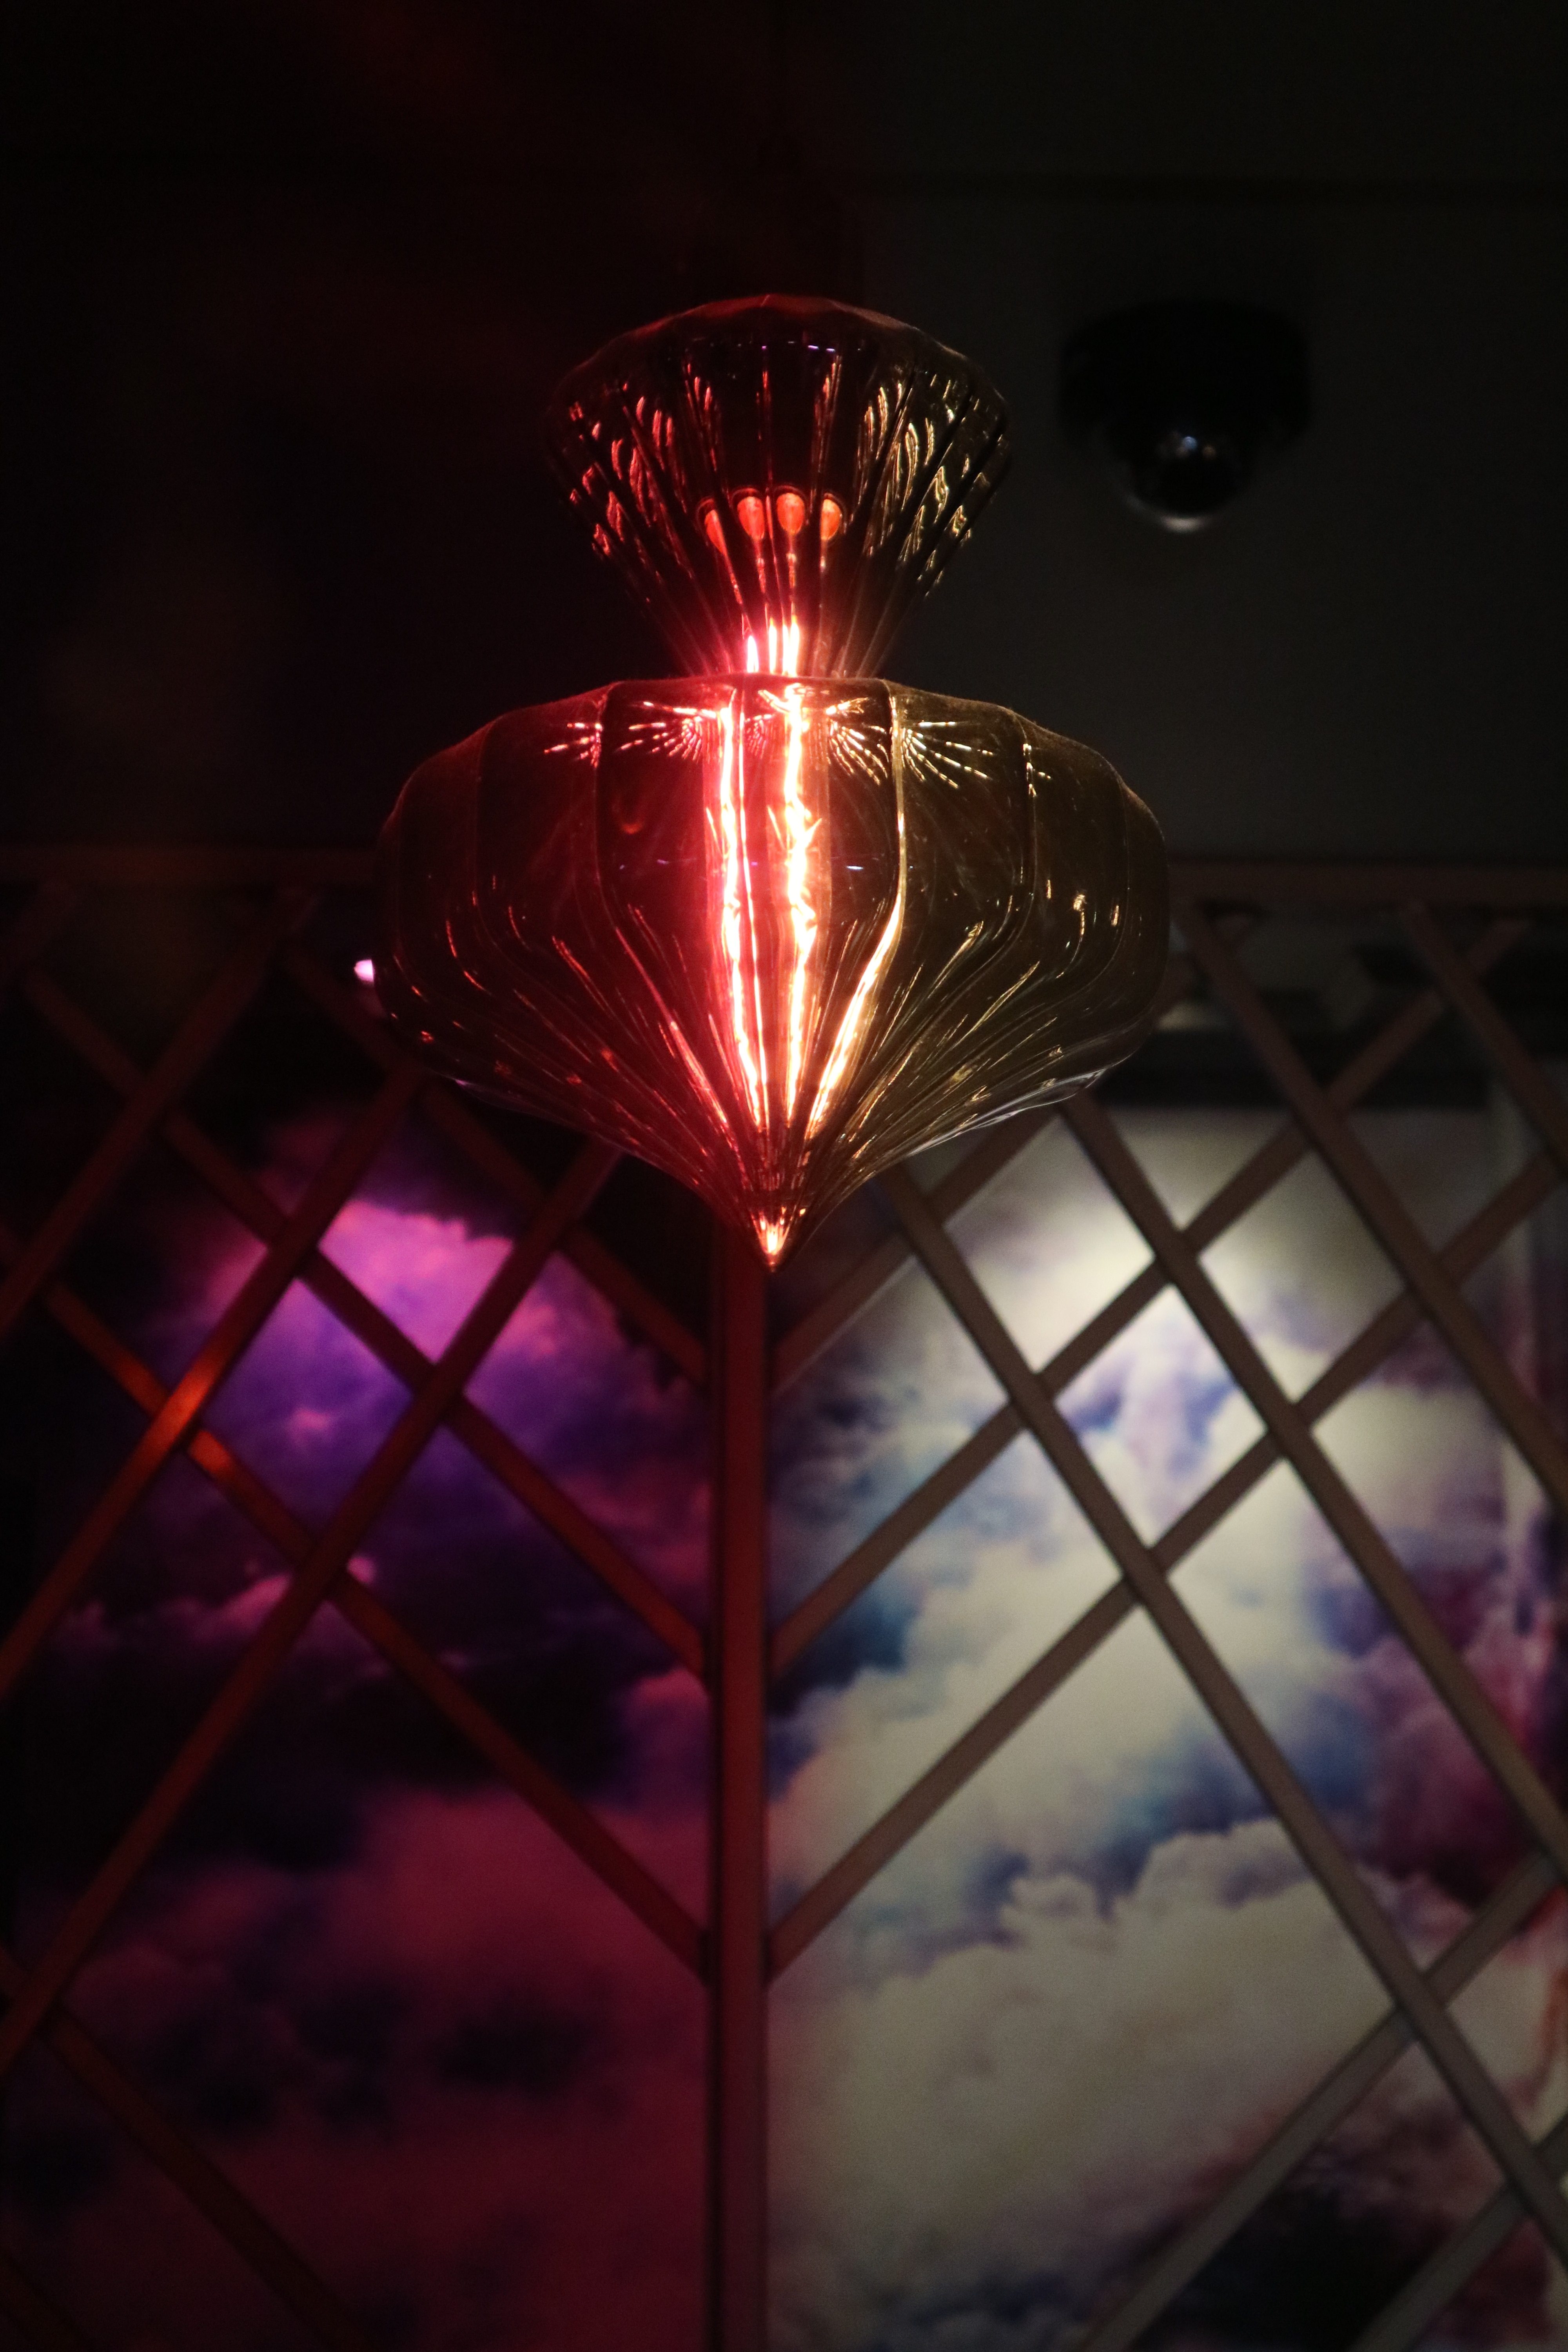
USE A REFLECTIVE SURFACE
To create the photo seen above where you can see the ceiling lamps, as well as light up wall art, I actually use my iPhone. Using the iPhone screen as a reflector allowed me to photograph too very different parts of the room in one photo, which may be an incredible effect in travel photography; think of how cool it would look in a city photograph!


WHAT PHOTOS DID I TAKE?
All of the photos in this post, except for the ones of me obviously, were taken by me at the event using the tips above. I’m pretty impressed with how they’ve turned out, especially the ones using the prism, which makes me feel like I’m looking through a kaleidoscope. This photography event has given me so much more confidence shooting out of auto, and I hope that I’ll now be able to shoot the majority of my blog photography in manual, using the tips I listed above.
Love Chloe x

Your photos turned out so well, especially when it was so dark! I wish there were more photography classes as I’m in dire need of some more… especially now that I have been shown how to get out of auto mode!
Author
Thank you darling! We should have a meet up and practise some photography xx